How to Set Up a Green Screen for Professional Webinars
Webinars connect people online for learning, selling, and sharing ideas. Green screens make webinars look better by allowing custom backgrounds.

Benefits of Using a Green Screen
Professional Appearance
A green screen lets you replace your real background with a clean, polished one. This helps you look more professional, even if your actual workspace is cluttered or distracting.
Branding Opportunities
With a green screen, you can use backgrounds that feature your company logo or match your brand colors. This reinforces your brand identity throughout the presentation.
Privacy Protection
Green screens hide your real location, which is useful if you’re working from home or in a shared space. This added privacy can help you feel more comfortable during your presentation.
Enhanced Engagement
Dynamic backgrounds can make your webinar more visually appealing. You can change backgrounds to match different topics or sections of your presentation, keeping your audience engaged.
Step-by-Step Guide to Setting Up a Green Screen
Choosing the Right Green Screen
The first step is selecting a suitable green screen. There are two main types to consider:
Fabric Green Screens: These are versatile and easy to store. Look for wrinkle-resistant materials to ensure a smooth background. For example, the Elgato Green Screen is a popular choice that’s easy to set up and take down.
Collapsible Green Screens: These are ideal for presenters who need to move their setup frequently. They’re quick to set up and pack away. The Neewer Chromakey Green Screen is a good option in this category.
Preparing the Space
Proper space preparation is crucial for effective green screen usage. Here’s what you need to do:
Choose a location with enough room to set up your screen and lighting equipment. Ideally, you want at least 6-8 feet of space to work with.
Ensure the area has even lighting. Natural light can be inconsistent, so it’s best to use artificial lighting that you can control.
If using a fabric screen, iron out any wrinkles or creases. For collapsible screens, make sure it’s fully extended and flat.
Setting Up Lighting
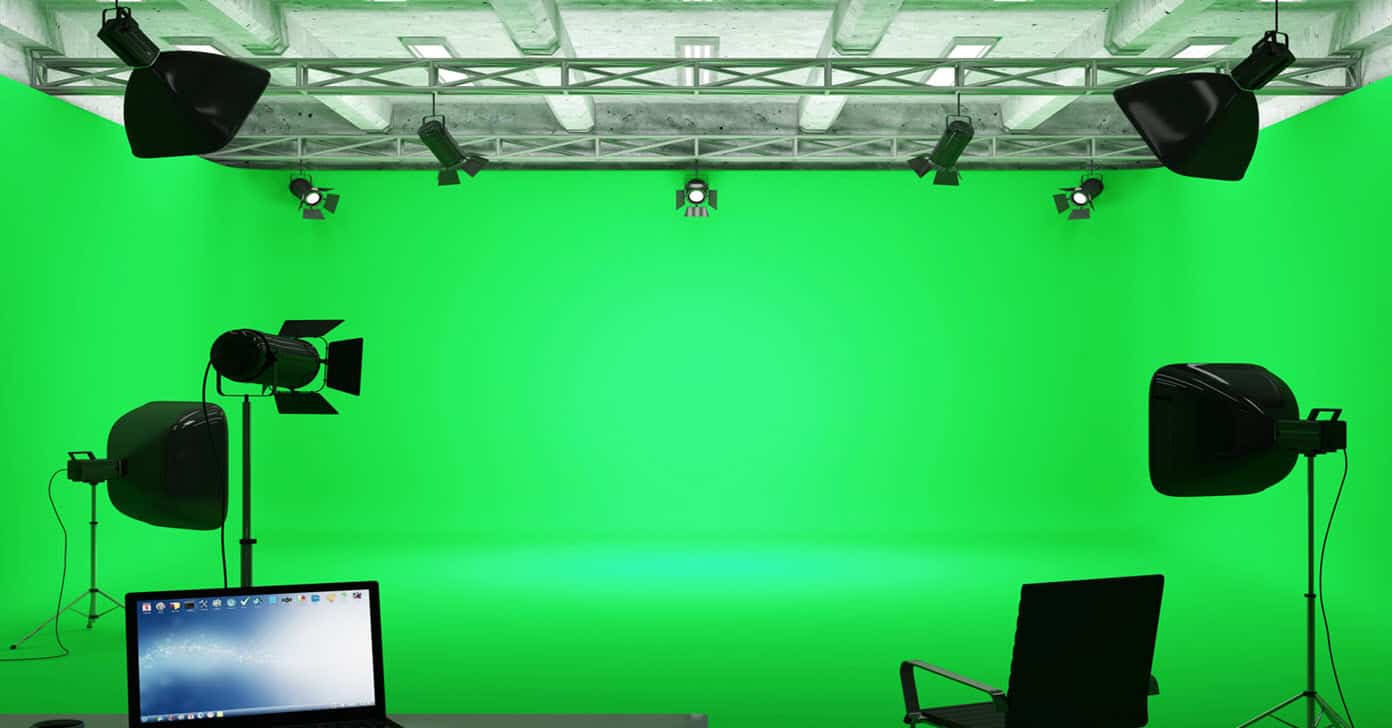
Good lighting is essential for a clean green screen effect. Here’s how to set it up:
Key Lights: Place two lights at 45-degree angles to your green screen, one on each side. These should evenly illuminate the entire screen. LED panel lights like the Neewer 660 LED Video Light work well for this purpose.
Fill Light: Position a light in front of you, slightly off to one side. This reduces shadows on your face. A ring light like the Elgato Ring Light can work well here.
Back Light: Put a light behind you, pointing at your shoulders. This helps separate you from the background. A small LED light like the Aputure AL-M9 can work for this.
Positioning the Green Screen
Correct positioning of your green screen is crucial:
Place the screen at least 5-6 feet behind you. This distance helps reduce shadows and prevents green light from reflecting onto you.
Ensure the screen is wide and tall enough to cover the entire area visible in your camera frame. You may need to adjust your camera or screen position to achieve this.
Camera Setup
Proper camera setup ensures high-quality video:
Position your camera at eye level for a natural look. A webcam on a tripod or laptop stand can help achieve this.
Use a high-resolution camera. The Logitech C920 is a popular choice for good quality at a reasonable price.
Adjust your camera’s focus to keep you sharp while maintaining a clear background. Most webcam software allows manual focus adjustment.
Software Configuration
Most webinar platforms have built-in green screen features. Here’s how to set them up in popular software:
Zoom:
- Open Zoom and go to Settings
- Click on “Background & Filters”
- Check “I have a green screen”
- Click on “Virtual Background” and choose your desired background
OBS Studio:
- Add a new video source
- Right-click on the source and select “Filters”
- Add a “Chroma Key” filter
- Adjust the settings to remove the green background
Testing and Adjusting
- Before going live, thoroughly test your setup:
- Check your lighting to ensure it’s even across the green screen.
- Use your software to apply the green screen effect and look for any issues.
- Move around in your space to make sure the background remains consistent.
- Adjust your camera settings, lighting, or software as needed based on your test results.


