Webinar Studio Equipment for Beginners [Must Have]

Why Use Good Webinar Equipment?
Good webinar equipment helps you:
- Look professional
- Keep people interested
- Avoid technical problems
- Do different types of webinars
- Save time fixing issues
- Stand out from others
- Feel more confident
Essential Webinar Equipment
Computer
A good computer runs your webinar software. You need:
- Processor: Intel Core i5 or better
- Memory: 8GB RAM or more
- Storage: Solid State Drive (SSD)
- Internet: At least 5 Mbps upload speed
Example: A Dell XPS 15 laptop or a custom-built desktop PC with these specs works well for webinars.
Webcam
A webcam shows you to your audience. Look for:
- Resolution: HD quality (1080p)
- Performance: Good in low-light conditions
- Field of View: Wide enough to frame you properly
Recommended: The Logitech C920 is popular, easy to set up, and gives clear video.
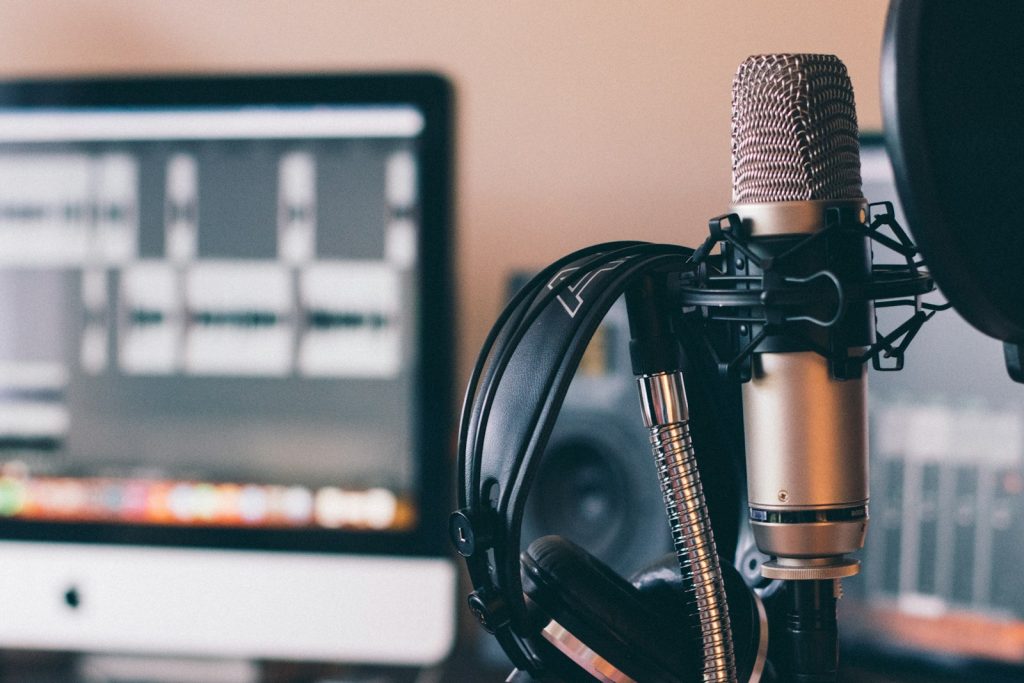
Microphone
Clear sound is very important. Choose a microphone that:
- Connects to your computer easily (USB)
- Picks up your voice clearly
- Doesn’t catch too much background noise
Recommended: The Blue Yeti USB microphone is good for beginners. It’s easy to use and sounds great.
Lighting
Good lighting helps you look better on camera. You need:
- Soft, even light on your face
- No harsh shadows
Recommended: A simple ring light like the Neewer 18-inch Ring Light Kit can make a big difference.
Headphones
Headphones let you hear yourself and your audience clearly. Look for:
- Comfortable fit for long webinars
- Good sound quality
Recommended: The Sony MDR7506 Professional headphones are reliable and comfortable.
Backdrop
A clean background keeps the focus on you. Options include:
- A plain wall
- A fabric backdrop
- A green screen for virtual backgrounds
Recommended: The Emart Photo Video Studio Backdrop is easy to set up and looks professional.
Webinar Software
This is what runs your webinar. Popular choices are:
- Zoom
- GoToWebinar
- WebinarJam
Each has different features. Try them out to see which you like best.
Setting Up Your Webinar Studio
1. Choose a Quiet Space
Find a room where you won’t be disturbed. Make sure it’s big enough for all your equipment.
2. Set Up Your Computer
Put your computer where you can easily reach it. If you’re using a laptop, consider a stand to raise it to eye level.
3. Position Your Camera
Put your webcam at eye level. This usually means placing it just above your computer screen. Look directly at the camera when speaking to connect with your audience.
4. Arrange Your Lighting
Place your main light (like a ring light) in front of you, just behind or above your camera. If you have extra lights, put them to your sides to reduce shadows.
5. Set Up Your Microphone
Place your microphone close to you, but out of the camera’s view. Test different positions to find where it picks up your voice best.
6. Organize Your Background
Make sure what’s behind you looks neat. If using a backdrop, hang it smoothly behind you. For a green screen, ensure it’s evenly lit and wrinkle-free.
7. Test Everything
Before your first webinar:
Get Future Posts to Your Inbox
SUBSCRIBE!- Check your video quality
- Make sure your microphone sounds clear
- Test your lighting to avoid shadows or glare
- Practice using your webinar software


