How to Effectively Host Webinars Using OBS Studio [Guide from Expert]
I wanted to write this guide because OBS Studio keeps coming up in webinar discussions, and honestly, it’s one of those tools that can either make your webinars look incredibly professional or completely overwhelm you if you don’t know what you’re doing.
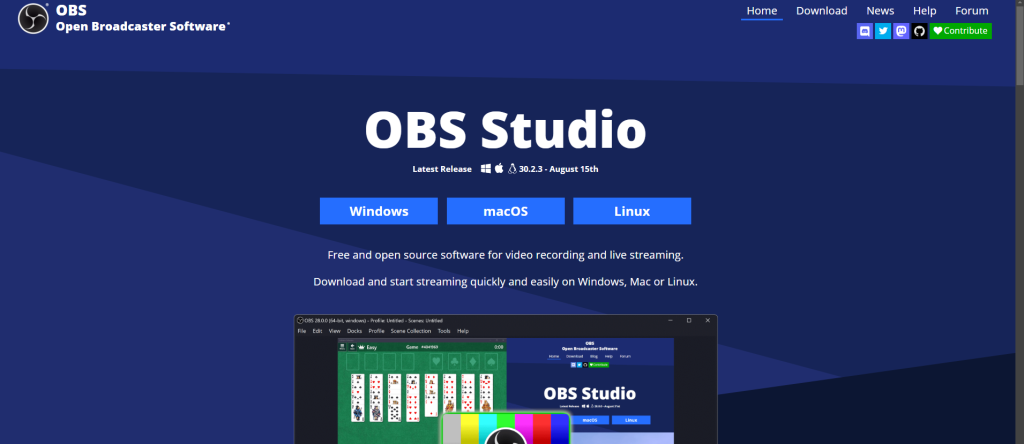
OBS Studio is free, open-source software that gives you broadcast-level control over your webinar production.
While platforms like Zoom or WebEx are easier to use, OBS lets you create custom layouts, switch between multiple scenes, and produce webinars that look like professional TV shows.
Getting OBS Studio Ready for Webinars
Download and Basic Setup
Head to the OBS Studio website and download the version for your computer.
The installation is straightforward, but don’t skip the Auto-Configuration Wizard when you first open the program.
Go to Tools > Auto-Configuration Wizard and let it optimize your settings based on your computer’s capabilities.
Understanding the Interface
The OBS interface has five main areas you need to know:
- Scenes (bottom left) – Think of these as different “shots” for your webinar
- Sources (bottom middle) – These are all the elements in each scene
- Audio Mixer (bottom right) – Controls all your sound inputs
- Preview (top) – Shows what your audience will see
- Controls (bottom) – Start/stop streaming and recording
Setting Up Your Webinar Layout
Creating Your Main Scene
Start by renaming the default scene to something like “Main Presentation.” Then add your sources by clicking the + button under Sources.
For most webinars, you’ll want:
- Video Capture Device for your webcam
- Display Capture or Window Capture for screen sharing
- Image sources for logos or branded elements
- Text sources for titles or lower thirds
Arranging Your Layout
In the preview window, you can drag and resize each source. I usually put the webcam in a corner and make the screen share take up most of the space. You can also right-click sources to access transform options for precise positioning.
Pro Tip from Experience: Create a “safe zone” template with guidelines showing where text and important elements should stay visible on different screen sizes.
Audio Configuration
Audio quality makes or breaks webinars. In the Audio Mixer, you’ll see level meters for each audio source. Aim for levels that peak in the yellow zone but never hit red.
Right-click on your microphone source and add filters – Noise Suppression and Gain are essential for clean audio.
Advanced Webinar Features
Multiple Scenes for Dynamic Presentations
Create separate scenes for different parts of your webinar:
- Intro Scene – Full-screen logo or welcome slide
- Speaker Scene – Large webcam with minimal screen share
- Screen Focus Scene – Full-screen presentation with small webcam
- Q&A Scene – Split layout for interaction
You can switch between scenes instantly using hotkeys or clicking scene names.
Professional Overlays and Graphics
Add visual elements that make your webinar look polished:
- Lower third graphics with your name and title
- Company logos in consistent positions
- “Coming Up” or “Q&A Starting Soon” text overlays
- Progress bars for longer presentations
Scene Transitions
Instead of jarring cuts between scenes, add smooth transitions. Go to Scene Transitions and try “Fade” with a 300-500ms duration. It’s subtle but makes everything feel more professional.
Streaming Your Webinar Live
Connecting to Streaming Platforms
OBS can stream to virtually any platform. In Settings > Stream, select your service:
- YouTube Live for public webinars and recordings
- Facebook Live for social media audiences
- Custom RTMP for platforms like LinkedIn Live or private streaming services
You’ll need to get a stream key from your chosen platform and paste it into OBS.
Recording While Streaming
Always record a local copy of your webinar. Go to Settings > Output and set your recording path and quality. I recommend recording at the same quality you’re streaming or higher.
Hit “Start Recording” along with “Start Streaming” to capture both.
Monitoring Performance
Keep an eye on the bottom status bar. If you see yellow or red indicators, your computer might be struggling. Common fixes include lowering output resolution or closing unnecessary programs.
Engaging Your Audience Through OBS
Interactive Elements
While OBS handles the video production, you’ll need additional tools for audience interaction:
- Chat integration through your streaming platform
- Browser source to display live polls or Q&A feeds
- Separate device for monitoring chat while presenting
Visual Engagement Techniques
Keep viewers interested with:
- Scene switching to break up long segments
- Zoom effects by creating sources at different scales
- Highlight animations using moving text or graphics
- Camera angle changes if you have multiple webcams
Technical Tips That Actually Matter
Bandwidth and Quality Settings
Don’t max out your internet connection. Use about 70% of your upload speed for streaming bitrate. For most webinars, 2500-3500 kbps provides good quality without risking connection issues.
Backup Plans
Have contingencies ready:
- Local recording as backup if streaming fails
- Secondary internet connection through mobile hotspot
- Simplified scenes that use less CPU if performance drops
- Pre-recorded segments for critical content
Audio Monitoring
Set up audio monitoring so you can hear what your audience hears.
Go to Settings > Audio and configure monitoring devices. Use headphones to catch audio issues early.
Post-Webinar Workflow
Processing Recordings
Your OBS recording will be high quality but large. You might want to compress it before uploading or sharing. Tools like HandBrake can reduce file sizes significantly.
Content Repurposing
Since you have high-quality recordings, you can:
- Extract audio for podcast episodes
- Create highlight clips for social media
- Generate transcripts for blog content
- Edit out breaks for on-demand viewing
Common Challenges and Solutions
Performance Issues
If OBS struggles during your webinar, try these fixes:
- Lower output resolution to 720p
- Reduce frame rate to 24fps
- Close browser tabs and unnecessary programs
- Use hardware encoding if available
Audio Sync Problems
Audio that doesn’t match video movement is distracting. Add a small delay to your video sources (usually 100-200ms) to compensate for audio processing delays.
Making the Switch to OBS
The learning curve for OBS is steeper than simple webinar platforms, but the production value increase is dramatic. Start by practicing with the basic setup, then gradually add advanced features as you get comfortable.
OBS turns your computer into a professional broadcast studio without the professional budget. Once you master the basics, you’ll wonder how you ever hosted webinars without complete control over your presentation.
Remember, the goal isn’t to use every feature OBS offers, but to create engaging webinars that serve your audience better than generic video calls ever could.