Free Virtual Classroom Platforms for Educators
Virtual classrooms are online spaces where you and your students can meet to conduct classes over the Internet.
You know, nowadays, it’s really hard to find good virtual classroom platforms that are free. A lot of them let you use the basic stuff without paying anything, but as soon as you want to access the more advanced features, they’re going to ask you to open your wallet. It can be a real challenge for educators like you who are looking for quality without the cost.
I’ve done some digging and found the top five free virtual classroom platforms.
These platforms come with powerful tools at no cost, which makes it a lot easier for you to connect with your students effectively and keep your online classes running smoothly.
Keep reading until the end, because I’ve also included a simple implementation guide!
#1 Google Meet
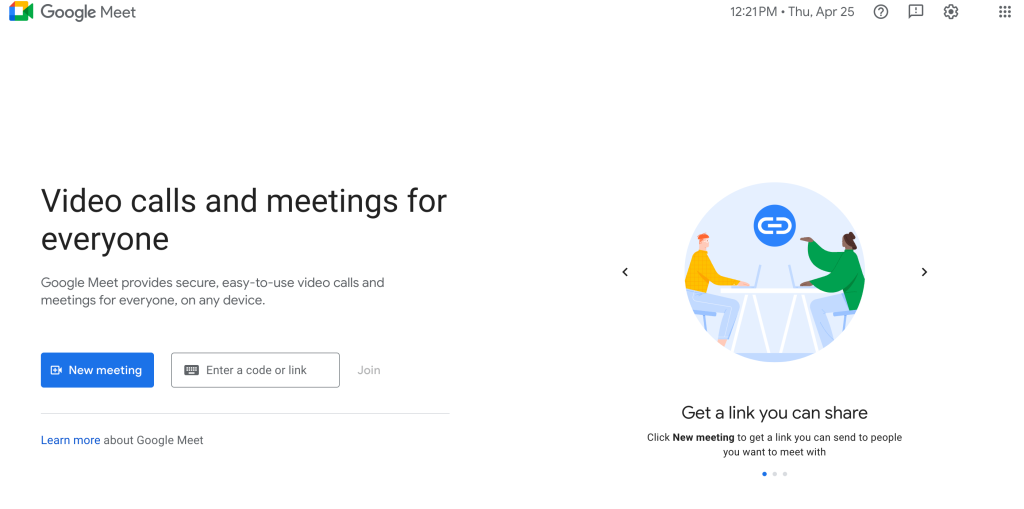
Pricing: Free for personal use
Key Features:
- Supports up to 100 participants
- Screen sharing and whiteboarding tools
- Recording capability
- Seamless integration with Google Workspace apps
Google Meet provides an exceptionally user-friendly video conferencing environment ideally suited for virtual classroom settings. As an educator, you can easily share lesson materials directly from your Google Drive, annotate concepts on the digital whiteboard, and record sessions for students who couldn’t attend live. The platform requires only a standard Google account to access all these features at no cost.
What makes Google Meet particularly valuable is its natural integration with other Google educational tools like Classroom, Docs, and Slides. This creates a cohesive ecosystem where assignments, presentations, and discussions can flow together without switching between different platforms.
#2 Zoom
Pricing: Free basic plan
Key Features:
- Accommodates up to 100 participants with 40-minute session limit
- Virtual whiteboards and breakout rooms for group activities
- Comprehensive screen sharing and recording options
- Works across all major devices and operating systems
Zoom has earned its reputation for reliability and intuitive design. While the free version does impose a 40-minute limit on group sessions, this constraint often aligns well with typical class periods or can be managed by simply starting a new session after the time expires.
The platform excels in providing collaborative tools like breakout rooms, which allow you to divide your class into smaller discussion groups before bringing everyone back together. The annotation features let you highlight important points on shared screens, creating more dynamic presentations that keep students engaged throughout the lesson.aring, and the ability to split students into smaller breakout groups.
#3 Microsoft Teams
Pricing: Free version available
Key Features:
- Unlimited one-on-one calling and meeting durations
- Group meetings for up to 100 participants
- Robust file sharing and collaborative workspace
- Integration with Microsoft 365 education applications
Microsoft Teams offers more than just video conferencing—it provides a complete collaborative workspace where classes can interact through chat, calls, and shared documents. The free version gives teachers comprehensive tools to host meetings, organize class materials, and foster student collaboration.
The platform’s greatest strength is its integration with familiar Microsoft tools like Word, Excel, and PowerPoint. This allows for seamless assignment creation, distribution, and collection all within the same environment. The persistent chat feature also enables questions and discussions to continue between scheduled class sessions, creating continuity in the learning experience.eetings, share files, and even integrate other Microsoft education tools.
#4 Cisco Webex
Pricing: Free basic plan
Key Features:
- Unlimited meeting durations (no time restrictions)
- Support for up to 100 participants
- Advanced screen sharing capabilities and interactive whiteboards
- Local recording option for class sessions
Cisco Webex combines enterprise-grade security with accessible functionality in its free offering. Educators benefit from unlimited meeting durations—a significant advantage when planning longer lectures or workshop sessions that require uninterrupted time.
The platform’s whiteboarding tools are particularly sophisticated, allowing for collaborative problem-solving and visual explanations. The recording feature gives you the option to save class sessions locally, providing students with review material without concerns about cloud storage limitations.
#5 Jitsi Meet
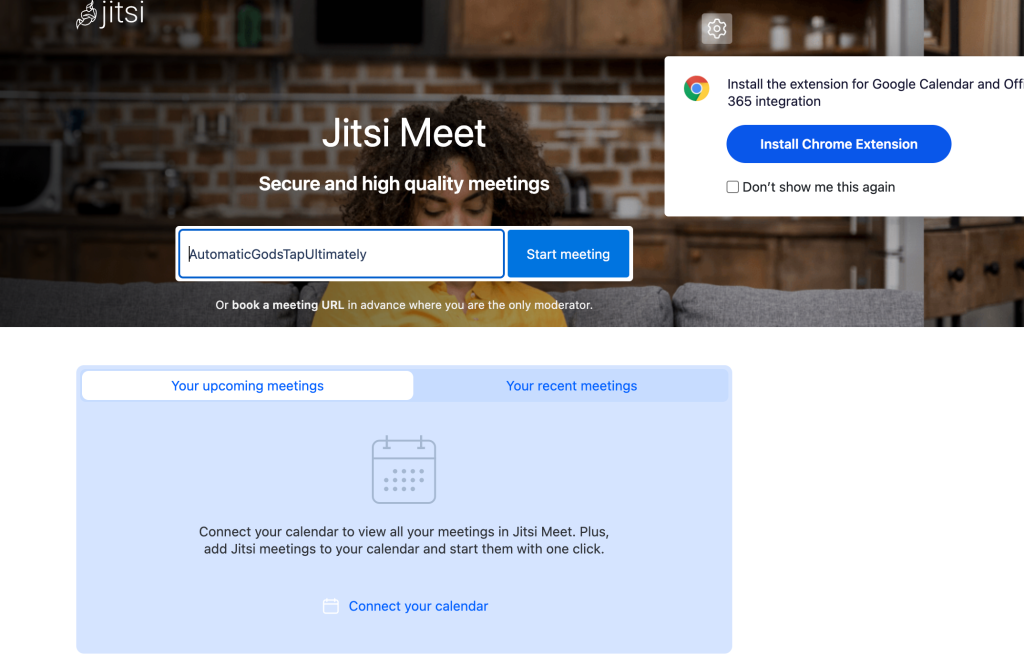
Pricing: 100% free
Key Features:
- No account creation required
- Instant screen sharing and recording functionality
- Mobile-friendly interface
- Open-source platform with customization options
Jitsi Meet stands out as the most barrier-free option, requiring absolutely no registration, downloads, or payment information. Students can join your virtual classroom with a simple link click, making it ideal for situations where administrative access or software installation might be restricted.
As an open-source platform, Jitsi offers remarkable flexibility for schools with technical resources. The browser-based interface works seamlessly across devices, ensuring students can participate regardless of whether they’re using computers, tablets, or smartphones.uired.
Implementing Virtual Classrooms: A Practical Guide

Step 1: Select Your Platform Based on Specific Needs
Begin by evaluating which platform best aligns with your teaching style and technical requirements. Consider factors such as:
- Average class size and session duration
- Need for breakout groups or collaborative activities
- Integration requirements with existing learning management systems
- Technical capabilities of your student population
For example, if your teaching involves extensive use of Google Docs or Slides, Google Meet would provide the most seamless experience. If you frequently need to divide students into small discussion groups, Zoom’s breakout room functionality might be more valuable.
Step 2: Configure Your Virtual Classroom Environment
Once you’ve selected a platform, take time to properly set up your classroom space:
- Customize meeting settings to enhance security (waiting rooms, participant controls)
- Organize teaching materials in easily accessible folders within the platform
- Create a welcome guide or orientation document for students
- Set up recurring meeting links for regular class sessions
Taking these preparatory steps ensures a more professional and organized learning environment from day one.
Step 3: Effectively Onboard Your Students
Student success begins with proper orientation to the virtual classroom:
- Distribute clear joining instructions via email or your learning management system
- Include screenshots or short videos demonstrating how to access key features
- Consider hosting a brief orientation session solely focused on navigating the platform
- Provide a troubleshooting guide addressing common technical issues
Remember that students’ comfort with technology varies widely—what seems intuitive to some may be challenging for others.
Step 4: Conduct Technical Rehearsals
Before your first full class session:
- Test your audio, video, and internet connection in the actual teaching location
- Practice using all interactive tools you plan to incorporate (polls, whiteboards, breakout rooms)
- Verify recording functionality if you’ll be providing session recordings
- Have a colleague join as a test participant to ensure everything appears as expected
These rehearsals help identify potential issues before they impact actual class time.
Step 5: Implement Effective Virtual Teaching Practices
As you begin teaching:
- Establish clear participation protocols (using hand-raise features, chat etiquette)
- Incorporate interactive elements every 10-15 minutes to maintain engagement
- Utilize screen sharing strategically for presentations, demonstrations, and guided activities
- Balance synchronous activities with asynchronous materials for a comprehensive learning experience
Remember that successful virtual teaching requires adapting your methods to the medium rather than simply transferring in-person techniques to an online environment.
Making the Most of Free Features
While premium versions of these platforms offer additional capabilities, creative educators can maximize free features by:
- Using external tools in conjunction with video meetings (shared Google Docs, Padlet boards)
- Breaking longer lessons into multiple sessions to work within time constraints
- Leveraging built-in recording options to create a library of review materials
- Utilizing chat and discussion features to extend learning beyond synchronous meetings
With thoughtful implementation, these free platforms provide all the essential tools needed for effective online education without financial barriers.
By selecting the virtual classroom platform that best fits your specific teaching context and learning how to leverage its capabilities fully, you can create engaging and effective online learning experiences without budget constraints.