A Practical Guide to the ADDIE Model for Training
If you’ve ever tried to build any kind of training, whether it’s a corporate workshop or a detailed online course, you’ve probably had that nagging feeling: “Is there a better way than just throwing content together and hoping it sticks?”
That’s where the ADDIE model comes in. I think of it as a reliable roadmap for building learning experiences that actually work. It’s a proven recipe that makes sure you cover all your bases, from the initial idea to the final results.
What Is the ADDIE Model and Why Does It Matter?
The ADDIE model is a five-phase framework that keeps your training projects organized, focused on your learners, and grounded in a process that delivers real results. It’s an acronym that stands for the five distinct stages of creating effective training:
- Analysis: Figuring out who your learners are, what they already know, and what they really need to learn.
- Design: Creating the blueprint for your course. This is where you map out learning objectives, content structure, and assessments.
- Development: Building the actual content and learning materials. Think recording videos, writing lessons, and creating quizzes.
- Implementation: Launching the training and getting it into the hands of your learners.
- Evaluation: Measuring what worked, what didn’t, and how you can make it even better next time.
This structured approach prevents the guesswork that leads to ineffective training. Instead of hoping for the best, you’re following a clear path that helps you avoid missing any critical steps along the way.
The Five Phases of ADDIE
Each phase builds directly on the one before it, creating a logical flow from concept to completion and beyond. This process is a continuous cycle designed for constant improvement.
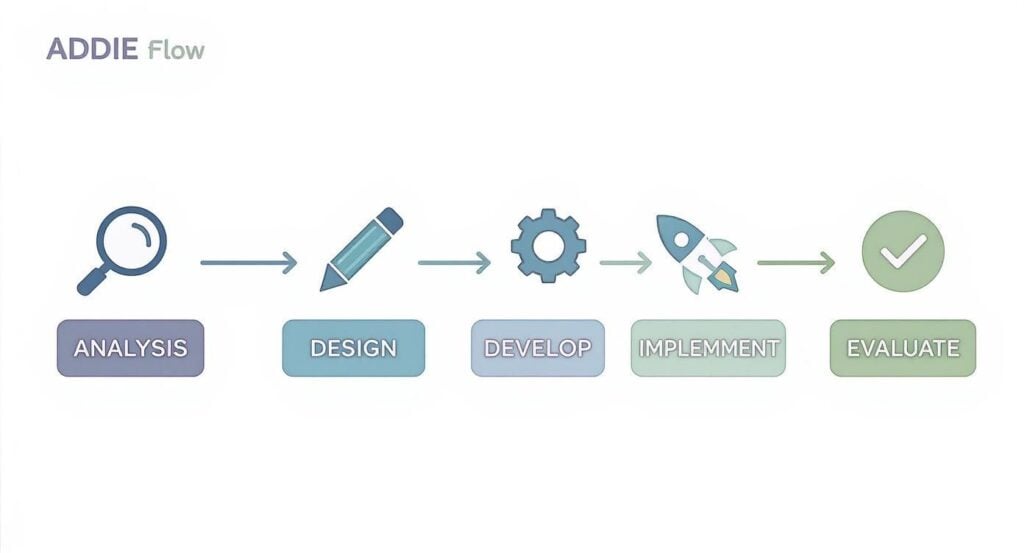
As the visual shows, the Evaluation phase feeds right back into the Analysis phase. What you learn about your course’s performance informs how you’ll approach the next version or a completely new project.
To give you a clearer picture, here’s a quick breakdown of each phase and its primary purpose.
The ADDIE Model at a Glance
| Phase | What It Is | Main Goal |
|---|---|---|
| Analysis | The discovery and research phase. | To identify the learning gap and define clear training requirements. |
| Design | The blueprinting and planning phase. | To create a detailed plan for the structure, content, and delivery of the training. |
| Development | The content creation phase. | To build and assemble all the learning materials and assets outlined in the design plan. |
| Implementation | The launch and delivery phase. | To roll out the training program to the target audience effectively. |
| Evaluation | The feedback and measurement phase. | To assess the training’s effectiveness and identify areas for improvement. |
This table gives you a high-level view, but the real power of ADDIE comes from understanding the details within each step.
A Proven Framework with a Long History
The ADDIE model isn’t some new trend. It was originally developed by the U.S. military back in the 1970s to standardize their training design process. The fact that it’s still one of the most widely used frameworks today speaks volumes about its durability and effectiveness.
The results are also well-documented. For instance, one study on English language instruction found that students’ scores nearly doubled after completing a course structured with the ADDIE model. The average score jumped from 8.80 to 16.27, a massive improvement that showcases the power of a systematic approach. You can dig into the full research on these learning achievements here.
By following a structured process like ADDIE, you’re engineering a learning experience designed to produce a specific, measurable outcome.
In the next sections, we’ll dive deep into each of these five phases, breaking down exactly what you need to do at every stage. By the end, you’ll have a clear, actionable plan to apply the ADDIE model for training to your own projects, whether you’re building a simple tutorial or a comprehensive certification program.
Phase 1: Analysis – Your Foundation for Success
Alright, let’s start with the first and most critical piece of the ADDIE puzzle: the Analysis phase.
If you skip this, you’re essentially building a house without a blueprint. Sure, you might end up with something standing, but it almost certainly won’t be what you or your learners actually need.
Think of this phase as your detective work. It’s where you put on your investigator hat to figure out the who, what, and why behind the training request. Who are the learners? What do they already know? And most importantly, what’s the real performance gap you’re trying to close?
Getting to the Root of the Problem
Before you create a single slide or record a video, you have to clearly define the problem. So often, someone comes to you and says, “We need training on X.” But is training really the answer?
The Analysis phase forces you to dig deeper. A team might be struggling with low sales numbers, but the root cause might not be a lack of sales skills. It could be a confusing commission structure, a buggy product, or a clunky CRM system that no one wants to use. Slapping a training course on top of those issues won’t fix anything.
This initial investigation is what saves you from wasting weeks of time and a chunk of your budget on a solution that completely misses the mark.
A thorough analysis boils down to a few key activities:
- Skill Gap Analysis: This is where you pinpoint the exact difference between the skills your team has and the skills they need to nail their roles. It helps you focus your content on what truly matters.
- Audience Analysis: You have to get inside your learners’ heads. What’s their experience level? What motivates them? What are their biggest headaches day-to-day?
- Goal Setting: Once you know the gaps, you can set clear, measurable learning objectives. These aren’t vague goals like “improve communication.” They’re specific outcomes like, “demonstrate the three-step customer de-escalation technique.”
Your Analysis Toolkit: Questions and Methods
So, how do you actually get all this information? It doesn’t have to be complicated. You’re just looking for practical ways to get real insights into your learners and their work.
Here are a few simple but powerful methods to get you started:
- Surveys and Questionnaires: These are fantastic for quickly gathering data from a large group. You can ask about current knowledge levels, confidence in specific tasks, and what topics they’d find most useful.
- One-on-One Interviews: Nothing beats talking directly to a few learners or their managers. This is where you get the rich, detailed stories that surveys miss. You can ask follow-up questions and hear about their challenges in their own words.
- Observation: Sometimes, the best way to understand a problem is to see it for yourself. Go watch employees perform the task you’re planning to train them on. You’ll quickly spot where they get stuck or what common mistakes they’re making.
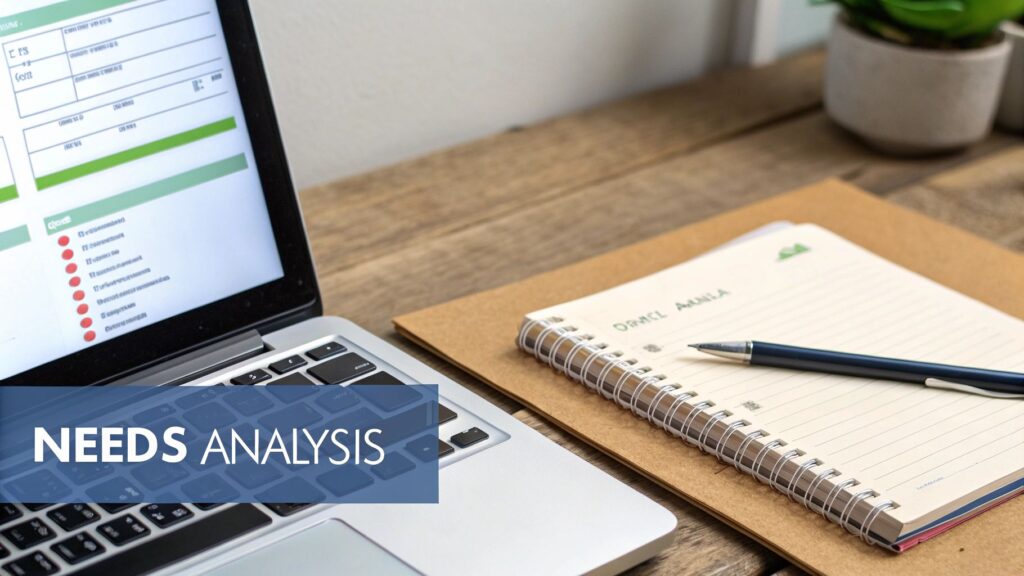
The goal of the Analysis phase is to replace assumptions with evidence. By gathering real data, you make sure the training you build is directly targeted at solving a genuine business problem and meeting a real learner need.
When you’re doing this research, you’re conducting what’s known as a needs assessment. It’s the formal process of identifying the training gap, and it’s the bedrock of any successful program built with the ADDIE model. To help you get started, we have a complete guide with a helpful training needs assessment template that you can use for your own projects.
By the end of the Analysis phase, you should have a crystal-clear picture of what your training needs to accomplish. This sets you up perfectly for the next step: Design.
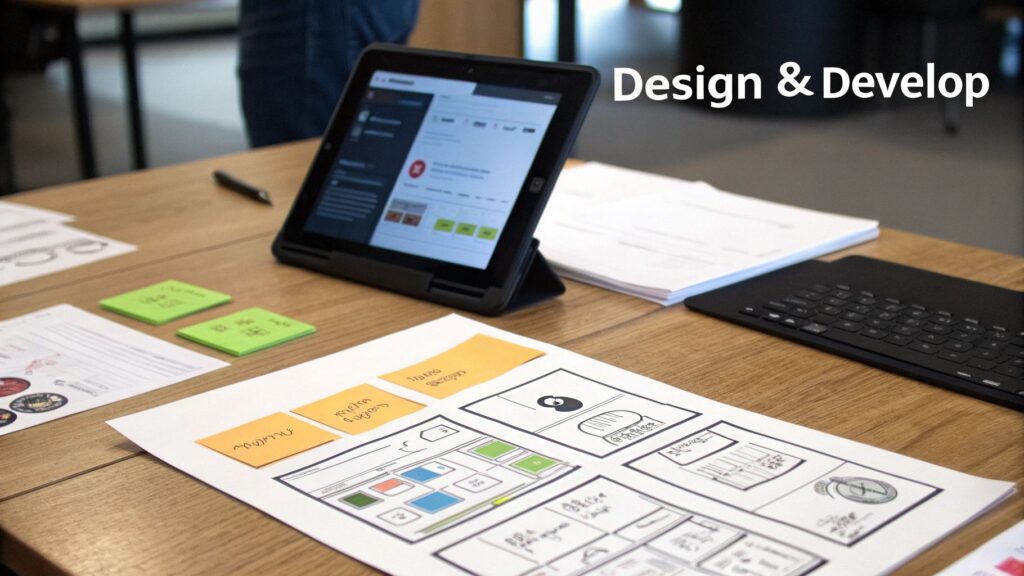
Phases 2 and 3: Design and Development
Once you’ve wrapped up your analysis, you’re ready for the fun part where the training really starts to take shape. The Design and Development phases are where all that research turns into a tangible learning experience.
Think of it as moving from an architect’s blueprint to actually framing the house and putting up the walls.
This is where you’ll make the critical decisions about how your content will look, feel, and function. The choices you make here will directly impact how engaging and ultimately, how effective your final product is for your learners.
The Design Phase: From Blueprint to Action Plan
The Design phase is all about structure. You’ll take everything you learned during your analysis, who your learners are, what they need to know, and your core objectives, and start creating a detailed plan.
This isn’t about building the content just yet. It’s about deciding how you’ll build it. Your main goal here is to answer a few critical questions:
- What will learners do? You’ll define the specific learning activities. Will they watch videos, complete interactive scenarios, or participate in group discussions?
- How will the content flow? You’ll create a high-level outline of the modules and lessons, making sure there’s a logical progression from one topic to the next.
- What will it look like? This is where you nail down the delivery method. Are you creating a self-paced e-learning course, a series of live workshops, or a blended approach that combines both?
A huge part of this phase is writing clear, measurable learning objectives. These statements guide your entire design, making sure every single piece of content serves a purpose. For more help on this, check out our guide on how to apply Bloom’s Taxonomy to create effective learning objectives.
Storyboarding Your Success
One of my favorite tools in the Design phase is the storyboard. A storyboard is basically a visual outline of your training, almost like a comic strip. It maps out exactly what learners will see, hear, and do on each screen or in each segment.
It doesn’t have to be fancy. A simple document or a set of slides will do the trick, as long as it includes:
- On-screen text and visuals: What text, images, or graphics will appear?
- Audio narration: A script for any voiceover you plan to record.
- Interactions: Where will learners click, drag, or type?
- Navigation notes: How will they move from one part of the lesson to the next?
This step saves a ton of headaches later. It allows you to get feedback from stakeholders and subject matter experts before you invest time and money into creating the final content.
The Development Phase: Bringing Your Vision to Life
With your design blueprint and storyboard in hand, it’s time to roll up your sleeves for the Development phase. This is where you actually create all the assets for your training program. You’re building the very course materials your learners will interact with.
This stage involves a lot of hands-on work:
- Writing and editing content
- Recording and editing videos and audio
- Designing graphics and slide decks
- Building quizzes and assessments
- Assembling everything in your chosen authoring tool or LMS
The ADDIE model’s structured approach is a major reason it has become the gold standard in the training world. In fact, it’s considered the leading instructional design standard globally, guiding everything from storyboarding to prototype testing to foster high-quality e-learning. Its adaptability has made it an essential tool in roughly 70-80% of instructional design projects over the past decade.
Prototyping is your best friend during Development. Create a small, functional slice of your course and let a few test users try it. Their feedback will help you catch issues with navigation, clarity, or technical bugs early on.
To make this phase more manageable, think about your tool stack. You don’t need a massive budget to create professional content. Simple tools like Canva for graphics, Loom for screen recordings, and even PowerPoint or Google Slides can be incredibly powerful for building your materials.
For enriching the learning experience during these phases, exploring effective interactive workshop activities can be a game-changer. These activities can transform passive learning into active engagement. By carefully designing and developing your training, you create a solid foundation for a successful launch.
Phase 4: Implementation — Getting Your Training Out There
Alright, you’ve put in the hard yards. The analysis is done, the design is solid, and you’ve built some fantastic training materials. Now it’s time for the Implementation phase, where your course finally goes live and meets your learners.
This is the moment of truth. I always think of it like a theater production. You’ve built the set, rehearsed the lines, and now it’s opening night. Success here requires more than just clicking “publish”. It’s about making sure the delivery is smooth and creating a supportive environment for everyone involved.
This phase is all about the logistics of getting your training into the hands or onto the screens of your audience. Whether you’re using a sophisticated Learning Management System (LMS) or just sending out a series of emails, a well-planned rollout makes all the difference.
Preparing for a Smooth Launch
Before you officially launch, a bit of prep work can save you from a world of stress. I always recommend creating a pre-launch checklist to make sure all your bases are covered. You need to be proactive, not reactive.
A successful launch plan involves more than just plugging in the technology. You also need to prepare your learners and any instructors or facilitators who will be part of the delivery.
Here’s a practical checklist to guide you:
- Prepare Your Instructors: If your training is instructor-led, make sure your facilitators are completely comfortable with the material, activities, and tech. A “train-the-trainer” session is a fantastic way to get everyone aligned.
- Set Up Your Technology: Test your LMS or delivery platform. Thoroughly. Make sure user accounts are created, content is uploaded correctly, and every single link and interactive element works as expected.
- Communicate with Learners: Don’t just drop the course on them. Send out a welcome email that explains what the course is about, how to access it, and what they can expect to achieve. Build a little excitement!
- Provide Support Channels: Let learners know exactly where to go if they run into technical issues or have questions about the content. This could be a dedicated email address, a community forum, or a help desk.
The goal of implementation is to create a seamless experience from the moment a learner logs in. A confusing or frustrating start can derail their motivation before they even get to your amazing content.
This systematic approach is why the ADDIE model for training is so effective in high-stakes fields like healthcare. For instance, when it was used to structure blended learning for nursing staff, it led to massive improvements in their self-learning abilities. The trained group’s self-directed learning score jumped to 88.32, showing huge gains in motivation, planning, and self-management. You can read more about how this structured approach delivers measurable results in medical training.
Focusing on the Learner Experience
Once the course is live, your job shifts from creator to supporter. The implementation phase is all about the learner’s journey. How can you make it as smooth and engaging as possible?
Onboarding is a huge piece of this puzzle. Your first module or welcome video should set the tone. Clearly explain how to navigate the course, where to find resources, and what the expectations are. A confident learner is an engaged learner.
Think about long-term support, too. What happens after the initial launch buzz fades?
- Monitor Progress: Keep an eye on learner engagement. Are people getting stuck in a particular module? Are completion rates lower than you expected?
- Gather Early Feedback: Pay close attention to that first wave of learners. Their experiences are gold. They can help you spot and fix small issues before they become big problems.
- Plan for Hiccups: Technology will inevitably have its moments. Have a contingency plan ready for common issues like login problems or videos that won’t play. Knowing who to contact and what steps to take will keep things running smoothly.
A successful implementation isn’t just a technical task. It’s about fostering a supportive and encouraging atmosphere that helps your learners succeed. With your course now live, you’re ready for the final, crucial step: Evaluation.
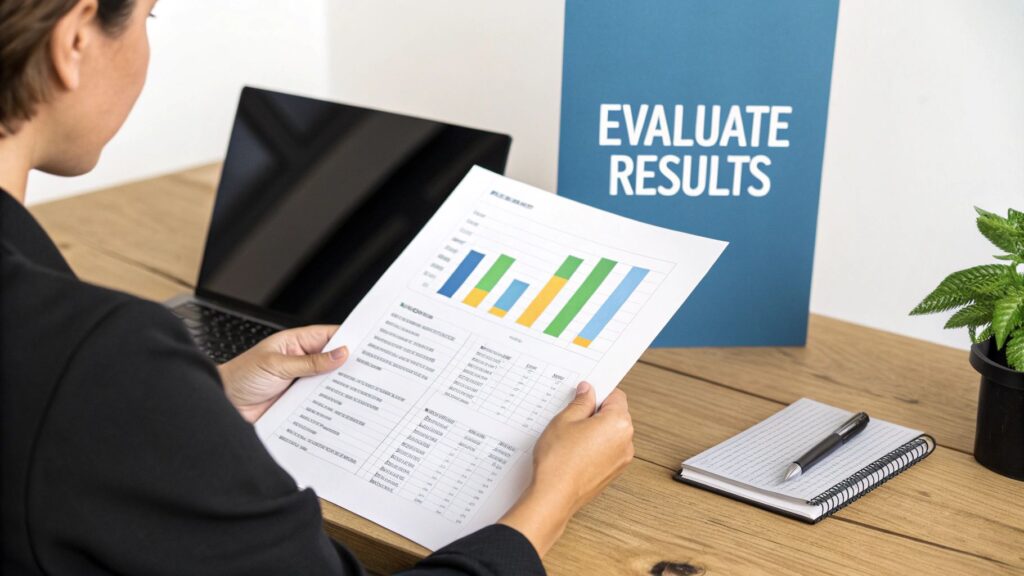
Phase 5: Evaluation — Knowing If Your Training Actually Worked

We’ve finally arrived at the last stop on our ADDIE journey: Evaluation. I like to think of this phase as the secret weapon for continuous improvement. After all that hard work, how do you really know if the training landed? Did it hit the mark, or did parts of it fall flat?
Evaluation is where you gather the evidence to answer those tough questions. This step closes the loop, turning your course from a one-time event into a living project that gets sharper with every single run. It’s what makes the ADDIE model for training so effective for building long-term success.
Formative vs. Summative Evaluation
When we talk about evaluation, we’re really looking at two different types that happen at different times. Both are essential for getting a complete picture of your training’s impact.
Formative Evaluation: This is the “check-in” you do during the process. Think of it as a progress report. You might run a pilot session during the Development phase to get feedback on a prototype, or maybe you’ll collect feedback halfway through a live course. It’s all about spotting issues early so you can fix them on the fly.
Summative Evaluation: This is the “final exam” that happens after the training is complete. This is where you measure whether you achieved the learning objectives you set way back in the Analysis phase. It tells you about the overall success of the program.
It’s a bit like cooking a big pot of soup. Formative evaluation is the chef tasting the soup while it’s still simmering to see if it needs a little more salt. Summative evaluation is when the guests eat the finished meal and tell you how delicious it was. You need both to perfect the recipe.
How to Collect Meaningful Feedback
Gathering data doesn’t have to be complicated. The goal is to get honest, actionable insights you can actually use. While you can get incredibly granular here, a few simple methods work wonders for most training projects.
A great place to start is with a post-training survey sent to learners right after they finish. A simple mix of questions can gauge their immediate reactions and how much they think they’ve learned.
Here are a few sample questions you can adapt for your own use:
- On a scale of 1-5, how relevant was this content to your daily work?
- What was the single most valuable thing you learned?
- What part of the training was the least helpful or clear?
- How confident do you feel applying these new skills on the job?
Beyond surveys, you can also conduct one-on-one interviews with a small group of learners to get more detailed stories and context. And if you really want to see if the skills transferred, observing them back on the job is the ultimate test.
The Evaluation phase is about finding opportunities. Every piece of feedback, good or bad, is a valuable clue that tells you exactly how to make your next training program even better.
By analyzing this data, you can pinpoint what worked well and what needs a refresh for next time. This iterative loop is the real engine of improvement. For a deeper dive into different methods, you might be interested in our guide on how to measure training effectiveness to explore more advanced techniques.
Comparing ADDIE to Other Instructional Design Models
While I’m a huge advocate for the ADDIE model, it’s definitely not the only game in town. Honestly, knowing the alternatives is just as important, because it helps you pick the right tool for the right job. One size never fits all in instructional design.
The most common alternative you’ll run into is the SAM model, which stands for the Successive Approximation Model. The easiest way to think about it is as ADDIE’s more spontaneous, agile cousin.
Where ADDIE gives you a structured, linear path, SAM is all about rapid prototyping and getting feedback early and often. It’s built from the ground up to be iterative, meaning you design, build, and test in small, repeated cycles.
Key Differences Between ADDIE and SAM
The fundamental difference comes down to workflow. ADDIE is what’s known as a waterfall model. You complete one phase entirely before you move on to the next. It’s methodical, thorough, and makes sure every detail is buttoned up, which is a lifesaver for large, complex projects where mistakes can be incredibly costly.
SAM, on the other hand, operates in quick, cyclical sprints. You might design, prototype, and get feedback on a single lesson all at once, then repeat that cycle for the next lesson, refining your approach with each pass. This makes it a fantastic choice for projects where requirements might evolve or where you just need to get a working version in front of learners as fast as possible.
To make this crystal clear, here’s a side-by-side look at how they stack up.
Comparing ADDIE and SAM Models
| Characteristic | ADDIE Model | SAM Model |
|---|---|---|
| Workflow | Linear and sequential (waterfall) | Iterative and cyclical (agile) |
| Best For | Large, stable projects with clear requirements | Fast-paced projects that need rapid prototypes |
| Feedback | Primarily at the end of each major phase | Continuous throughout multiple small cycles |
| Flexibility | Less flexible once a phase is complete | Highly flexible and adaptable to change |
As you can see, they’re designed for very different scenarios. One isn’t inherently “better,” they just solve different problems.
When to Choose One Over the Other
So, how do you decide which one to use for your next project?
I almost always lean on the ADDIE model when I’m working in a regulated industry (like finance or healthcare) or on a high-stakes compliance course. Its step-by-step nature makes sure everything is documented, approved, and accounted for, which seriously minimizes risk.
Choose SAM when speed and collaboration are your top priorities. It shines in creative environments where you can quickly test ideas with learners and stakeholders, making adjustments on the fly without having to backtrack through a rigid process.
At the end of the day, both models are aiming for the same goal: creating effective training that gets results. ADDIE provides a predictable, sturdy roadmap, while SAM offers a more dynamic and exploratory path. Knowing the strengths of each lets you confidently choose the right approach for any situation.
Still Have Questions About the ADDIE Model?
As you start to get your hands dirty with the ADDIE model, it’s totally normal for a few questions to pop up. It’s a powerful framework, no doubt, but its long history can sometimes make people wonder how it holds up in a world that moves at the speed of light.
I get asked about this stuff all the time, so I’ve pulled together some of the most common questions right here. My goal is to help you move forward with confidence.
Is the ADDIE Model Still Relevant Today?
Absolutely. It’s true that ADDIE has been around for decades, but its structured, step-by-step approach is exactly what makes it so timeless. It gives you a solid foundation and makes sure no critical step gets skipped, a total lifesaver for complex projects or in industries with heavy regulations.
Honestly, many of the newer, “agile” approaches you hear about are really just clever remixes of ADDIE’s core principles. That just goes to show you how foundational its five-phase structure really is to good instructional design.
Can I Use the ADDIE Model for a Small Online Course?
Yes, and you absolutely should. The real beauty of the ADDIE model is how well it scales. You don’t need a massive team or a six-figure budget to make its logic work for you.
For a small online course, your process just looks a little different. It’s leaner and more focused.
- Analysis: This could be as simple as a quick survey you send to your email list to get a read on their biggest pain points.
- Design: Your “design” might just be a straightforward document or mind map that outlines a handful of video lessons.
- Development: Forget a big production. This could be you recording those videos on your smartphone and whipping up a simple worksheet.
You’re still following the same logical steps. You just adapt the intensity of each phase to fit the actual size of your project.
What Is the Biggest Mistake People Make When Using ADDIE?
One of the most common mistakes I see is treating ADDIE like a rigid, one-way street. People see the arrows pointing forward and think there’s no turning back. But in reality, you should always be ready to circle back and make adjustments.
For example, you might get feedback on a prototype during the Development phase that uncovers a big flaw in your original Design. The smart move is to loop back and refine the design based on that new insight instead of just pushing forward anyway.
Another huge pitfall is rushing the Analysis phase. I get it, it’s the least flashy part. But if you don’t take the time to truly understand your audience and what they need from the get-go, the entire program will be built on a shaky foundation. A little extra time upfront always, always pays off in the end.